All Moves
61 moves
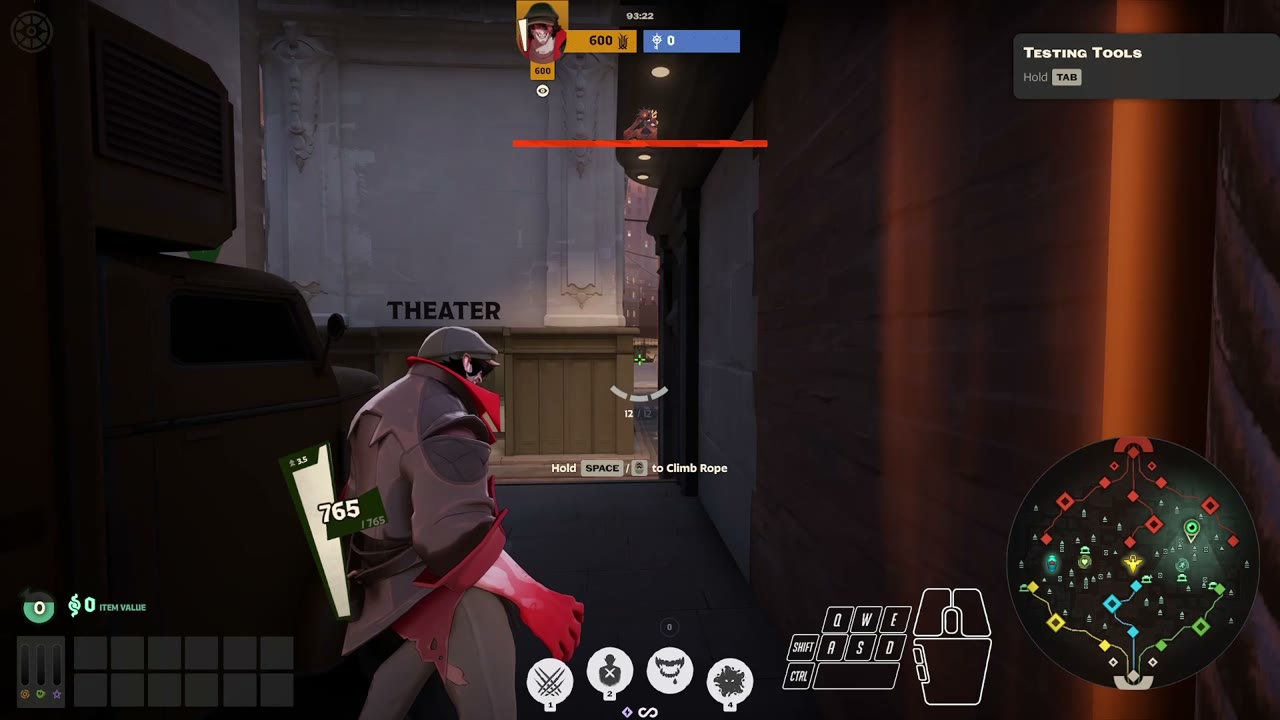
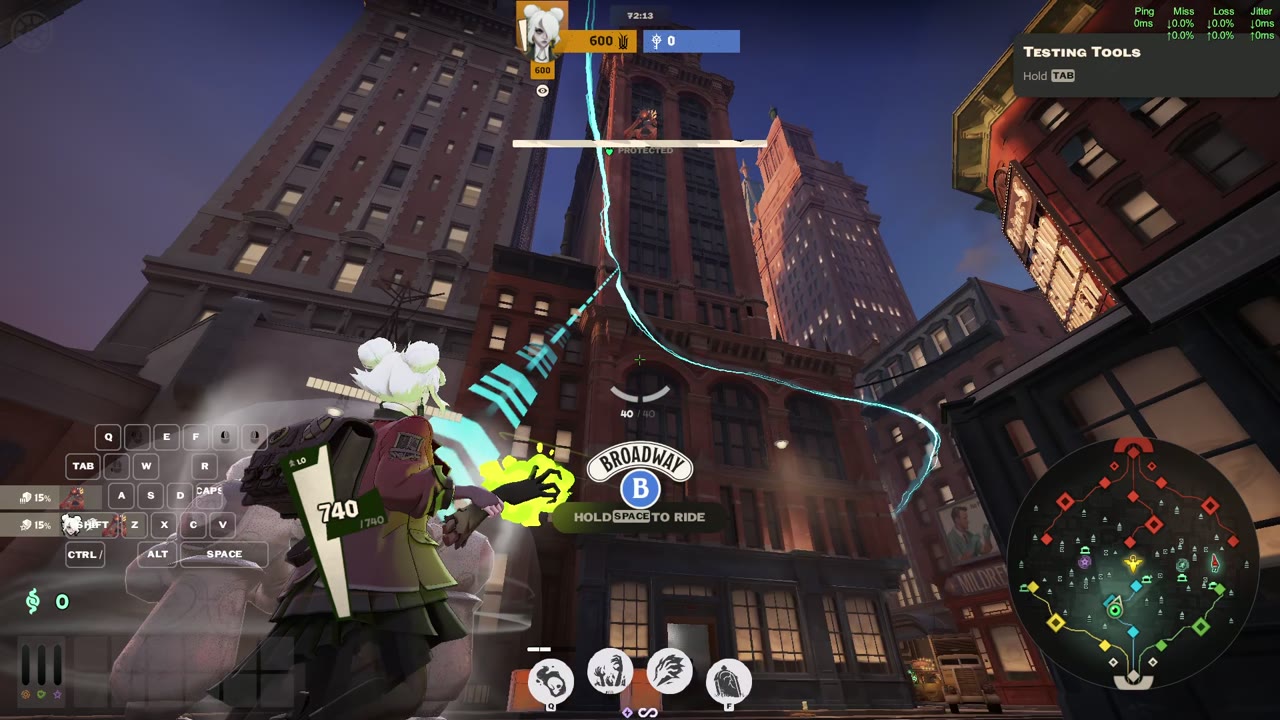
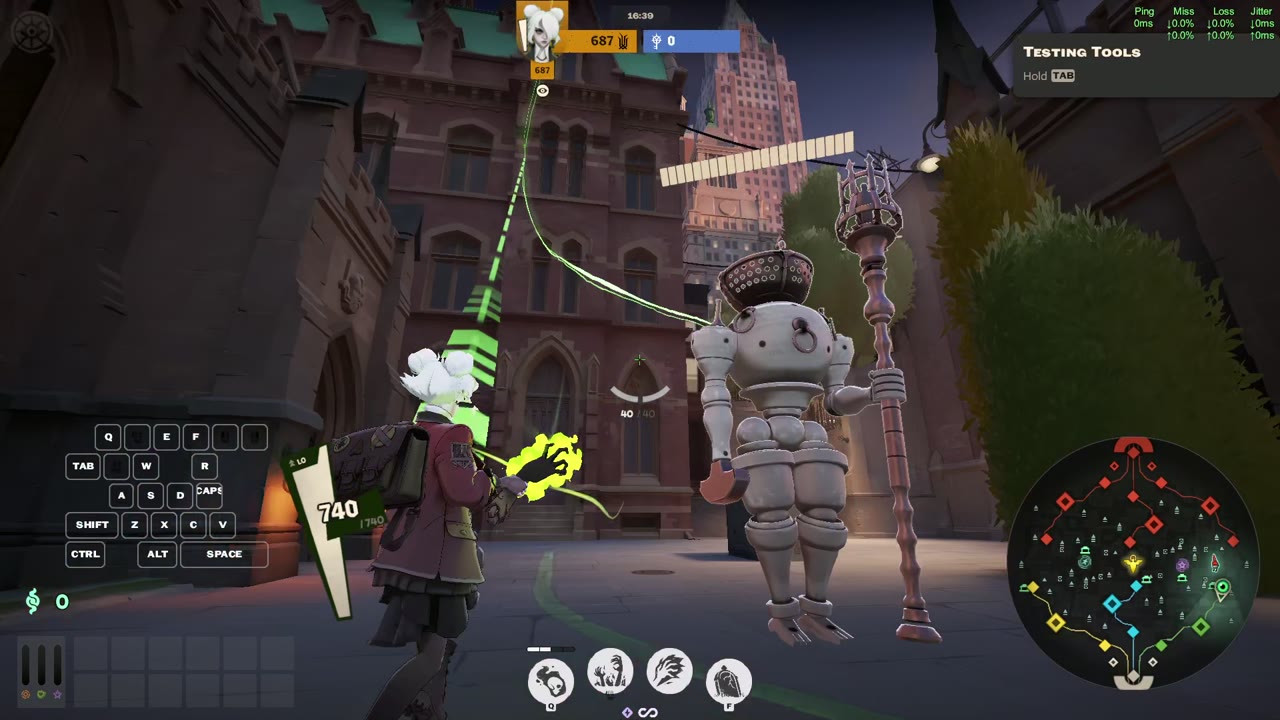
Mid to Secret Shop Box Route
mediumBox route on the mid lane to the secret shop using IAD

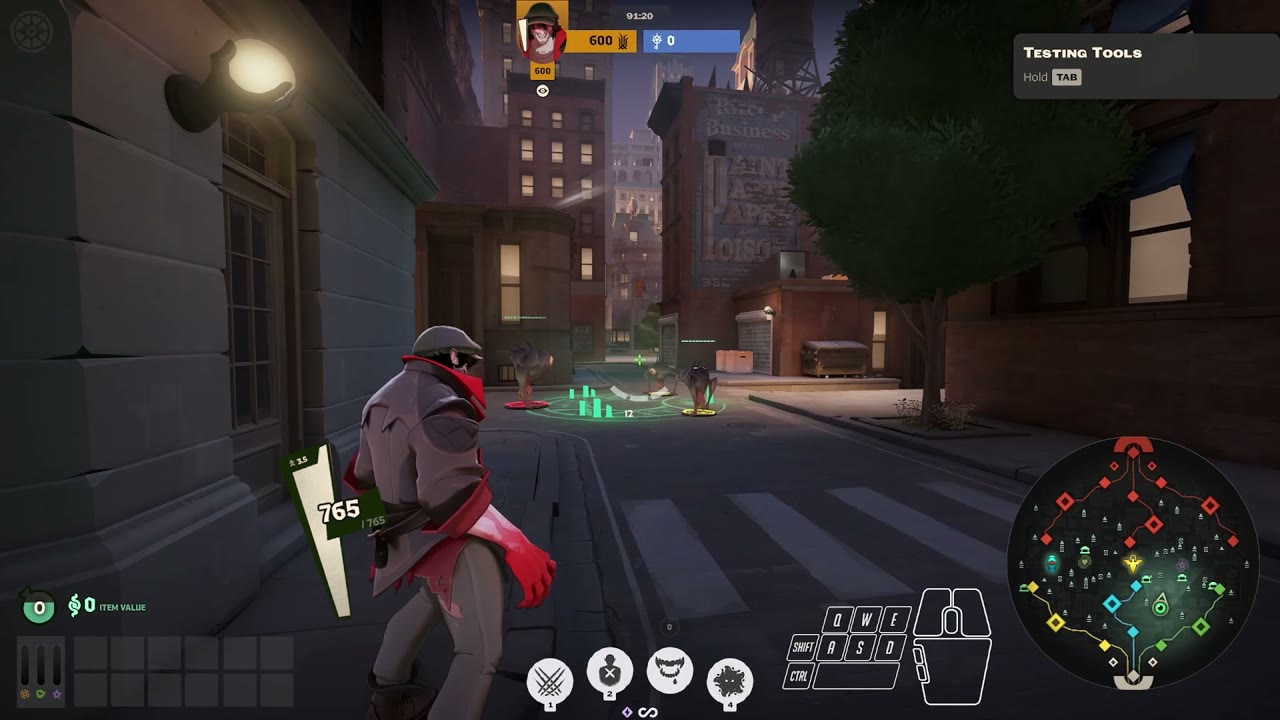
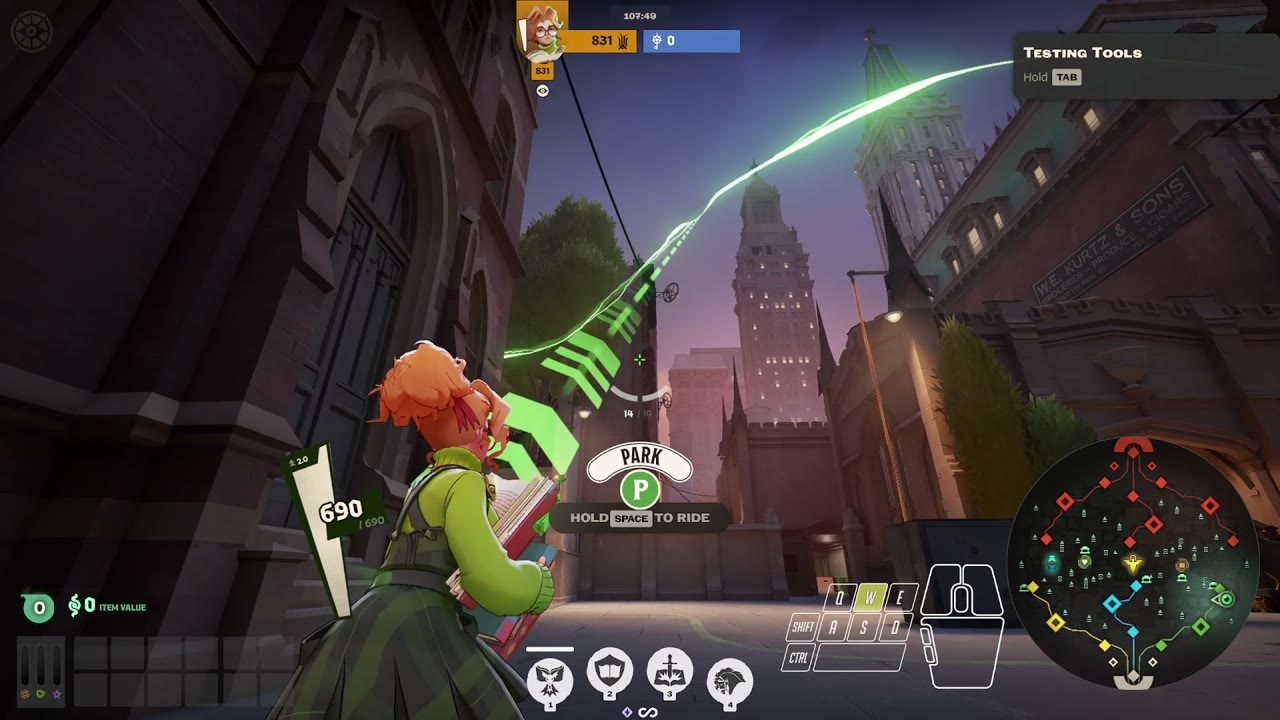
Drifter Mid to Green Small Camp Rotation
easyRotation to get from the mid lane to the Green small camp on Drifter
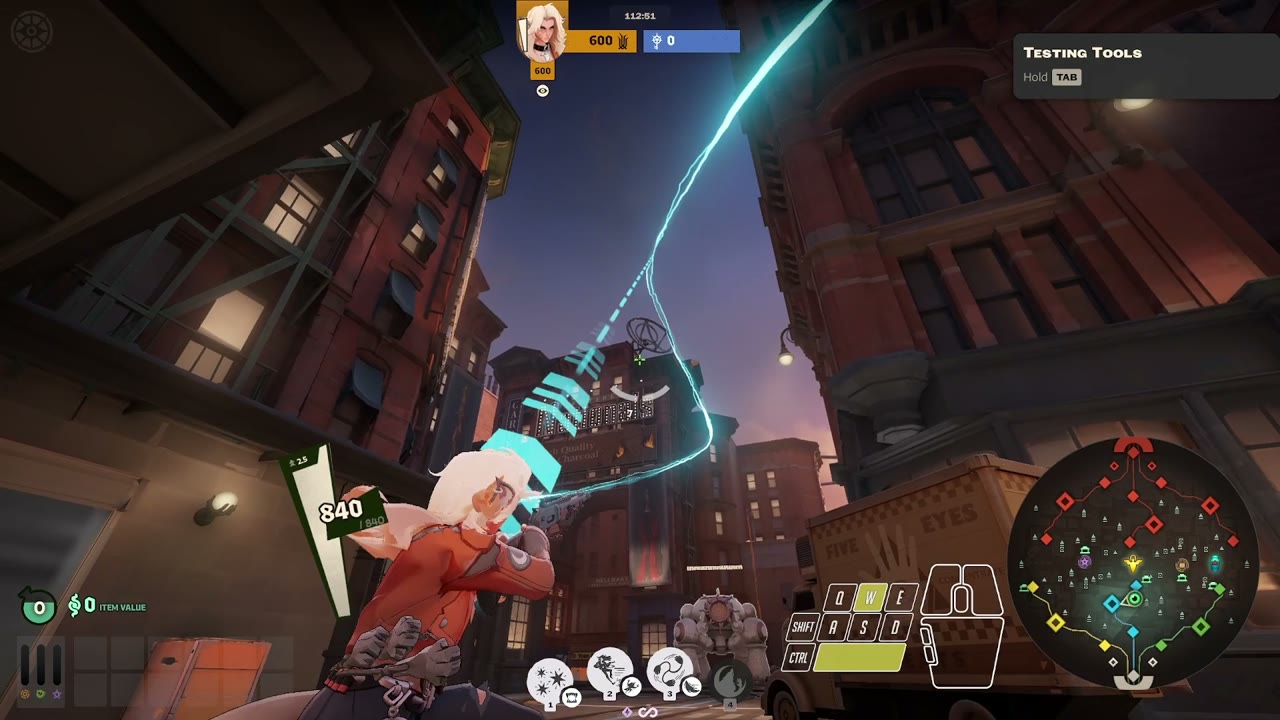
Drifter Mid to Yellow Small Camp Rotation
easyRotation to get from the mid lane to the Yellow small camp on Drifter
Drifter Yellow Alley to Nursery Camp Rotation
easyRotation to get from the Yellow alley to the Nursery camp on Drifter
Drifter Green Alley to Florist Camp Rotation
easyRotation to get from the Green alley to the Florist camp on Drifter
Drifter Bear Statue to Medium Camp Rotation
easyRotation to get from the Bear Statue to Medium camp
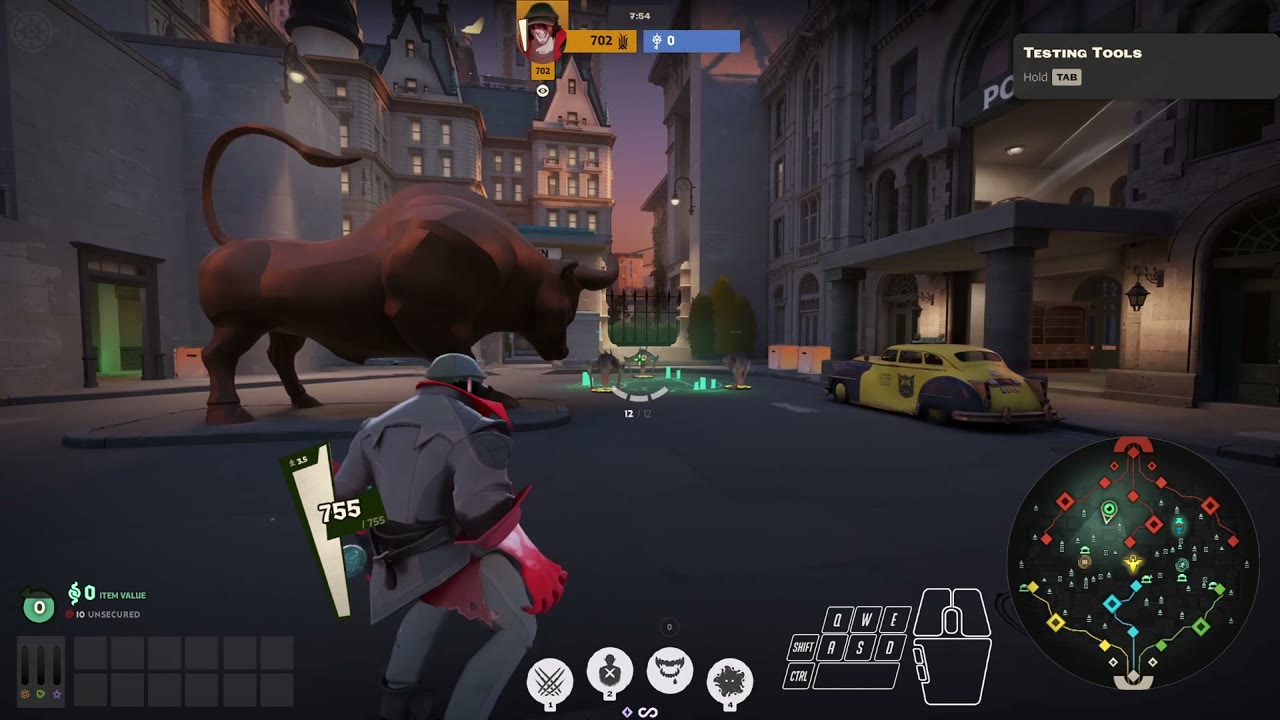
Drifter Bull Statue to Medium Camp Rotation
easyRotation to get from the Bull Statue to Medium camp

Rem Left to Right Box Route
easyBox route for the Rem left lane to the right lane
Rem Right to Left Box Route
easyBox route for the Rem right lane to the left lane
Rem Mid Right Box Route
easyRight box route for the Rem on the mid lane
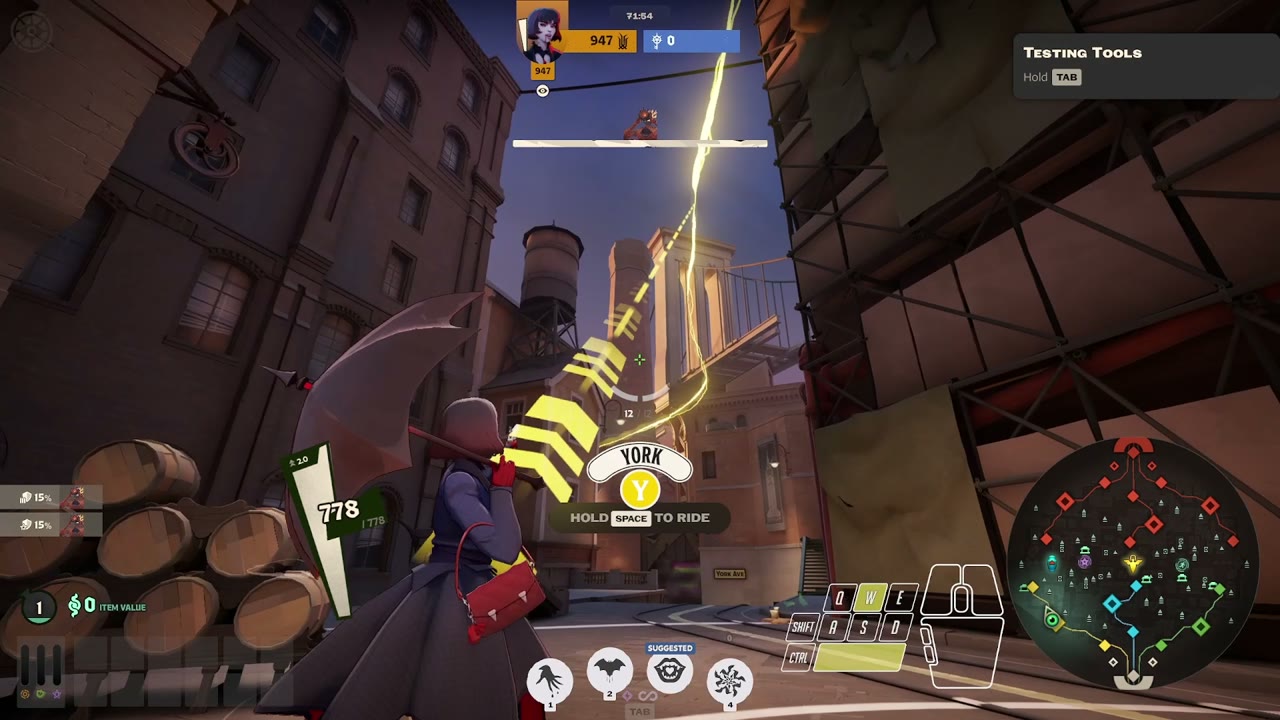
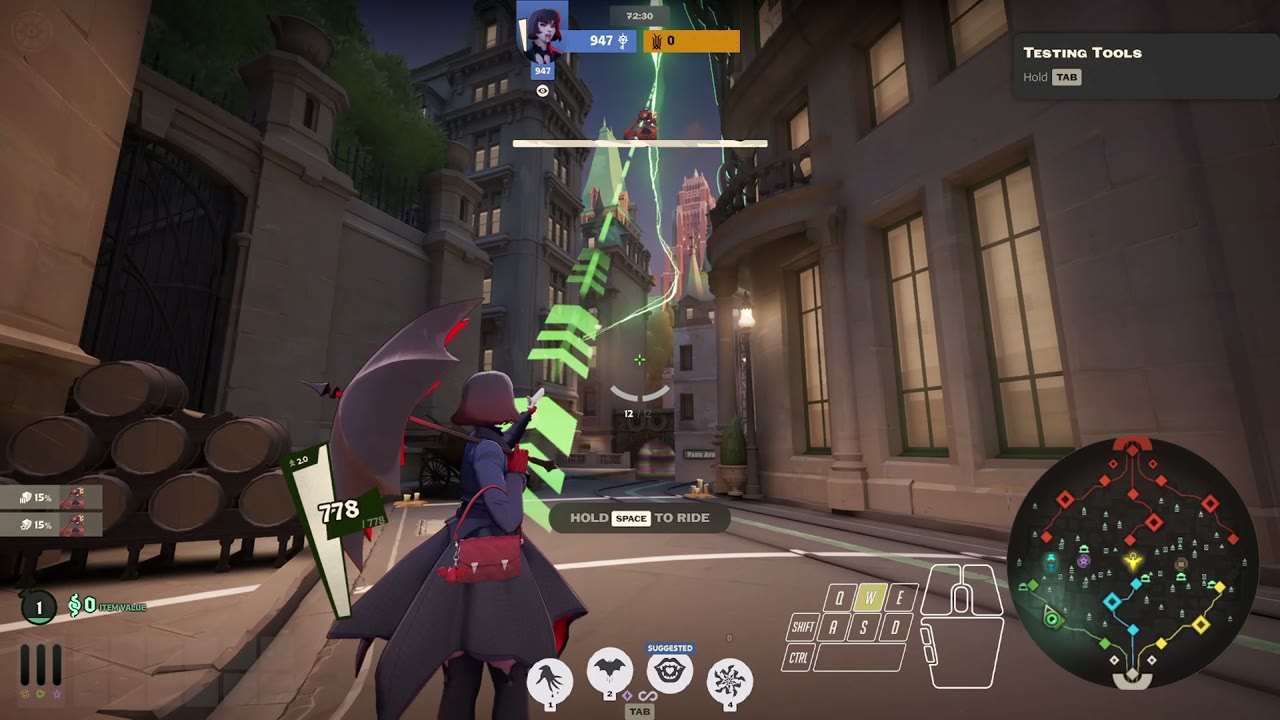
Archmother Mid Metro Box Route
mediumBox route starting from Archmother mid lane to the metro
Even Urn Route from Yellow to Green
hardBest route to deliver the urn from Yellow to Green lane in even game state
Even Urn Route from Green to Yellow
hardBest route to deliver the urn from Green to Yellow lane in even game state
Archmother Deficit Urn Route from Green
hardBest route to deliver the urn from Green in Archmother deficit state
Archmother Deficit Urn Route from Yellow
hardBest route to deliver the urn from Yellow in Archmother deficit state

Hidden King Green Guardian to Buff safe shortcut
mediumSafely reach bridge buff through the roof camp via zipline. Can use heavy melee instead of second air jump.
Hidden King Green Sinner Room to Bridge Buff shortcut
hardShortcut to quickly get from sinner room to buff, dashing in the beginning is not necessary.
Hidden King Blue to Green rotation before Walker
mediumFast route from Hidden King Blue to Green. Universal and requires no items.
Hidden King Green to Blue Rotation through the roofs
mediumHidden King green to blue starting from green walker. Universal and requires no items. Say hi to mr. bear on the way :)
Hidden King Yellow Walker to Archmother Roof Camp Rotation
easyRotation to get from the Yellow walker to the Archmother roof camp
Archmother Green Walker to Hidden King Roof Camp Rotation
easyRotation to get from the Green walker to the Hidden King roof camp
Doorman Ultimate Escape Routes
mediumToggle Slowing Hex and Knockdown to see the optimal route for each scenario. Without any debuffs you can edge boost and then mantle slide hop to use 0 stamina. For other scenarios it is recommended learning the route with double jump, as it isn't affected by dash velocity, which differs on different heroes.
Right Lane Right Box Route
easyRight box route for the right lane through cathedral
Right Lane Roof Box Route
easyRoof box route for the right lane
Mid Lane Left Box Route
easyLeft box route for the mid lane
Hidden King Mid Metro Box Route
easyMetro box route for the Hidden King mid lane
Mid Lane Right Box Route
easyRight box route for the mid lane, uses trick that you can take buffs through the walls
Mid Lane Walker Box Route
easyWalker box route for the mid lane
Left Lane Left Box Route
easyBox route starting from enemy's side after you push
Left Lane Right Box Route
easyRight box route for the left lane
Hidden King Yellow Roof Box Route
mediumRoof box route for the Hidden King yellow lane, many variations here, can gank mid for example
Left Lane Walker Box Route
easyWalker box route for the left lane
Right Lane Left Box Route
easyLeft box route for the right lane
Archmother Green Lane Window to Roof shortcut
hardA nasty shortcut to quickly get to the roof with vent
Hidden King Yellow Lane Window to Roof shortcut
hardA nasty shortcut to quickly get to the roof with vent

Hidden King Green to Blue rotation before Walker
mediumGreen to Blue rotation for the Hidden King team before the Walker
Hidden King Yellow to Blue rotation before Walker
mediumYellow to Blue rotation for the Hidden King team before the Walker
Archmother Green to Blue rotation before Walker
mediumGreen to Blue rotation for the Archmother team before the Walker
Hidden King Blue to Yellow rotation before Walker
easyBlue to Yellow rotation for the Hidden King team before the Walker
Archmother Yellow to Blue rotation before Walker
mediumYellow to Blue rotation for the Archmother team before the Walker
Archmother Blue to Green rotation before Walker
easyBlue to Green rotation for the Archmother team before the Walker

Midboss Ladder to Box Room Shortcut
mediumShortcut to quickly get from the Midboss ladder to the box room

Yellow To Double Sinner Roof Shortcut
hardShortcut to quickly get from the Yellow lane's single sinner sacrifice to double Sinner's roof
Hidden King Blue Walker to Yellow Walker Roof Shortcut
easyShortcut to quickly get from they Blue walker to the roof near yellow walker
Yellow Rune Gargoyle Shortcut
mediumShortcut to quickly get from the bridge to the Yellow rune
Green Rune Owl Shortcut
mediumShortcut to quickly get from the bridge to the Green rune
Mid Vent to Green Sinner Room Shortcut
mediumShortcut to quickly get from mid vent to the Green lane Sinner Room
Mid Vent to Yellow Sinner Room Shortcut
mediumShortcut to quickly get from mid vent to the Yellow lane Sinner Room
Hidden King Edge Jump from Green Sinner Sacrifice to other side
easyEdge Jump from Green Sinner Sacrifice to other side for Hidden King team
Archmother Blue to Yellow rotation
mediumBlue to Yellow lane rotation for Archmother team
Archmother Yellow to Blue rotation
mediumFast and direct Archmother Yellow to Blue rotation. Universal and requires no items.

Archmother Green to Blue rotation
mediumGreen to Blue lane rotation for Archmother team
Archmother Blue to Green rotation
mediumBlue to Green lane rotation for Archmother team
Green Bridge to Archmother Roof Camp Shortcut
hardShortcut to reach the Green roof camp from lane bridge
Hidden King Double Sinner to Walker Upper Room
hardShortcut to quickly get from fence near double Sinner house to walker upper room
Archmother Double Sinner to Walker Upper Room
hardShortcut to quickly get from fence near double Sinner house to walker upper room
Hidden King Blue to Green rotation
mediumBlue to Green rotation for the Hidden King team.
Hidden King Green to Blue rotation
mediumGreen to Blue rotation for the Hidden King team

Hidden King Yellow to Blue rotation
mediumYellow to Blue rotation for the Hidden King team
Hidden King Blue to Yellow rotation
mediumBlue to Yellow rotation for the Hidden King team
Archmother Edge Jump from Yellow Sinner Sacrifice to other side
easyEdge Jump from Yellow Sinner Sacrifice to other side for Archmother team, normal wall jump works too
No moves match the selected filters.